Blog
How to Choose the Perfect Photo for Your Custom Figure
Jan
Selecting the Ideal Image for Your custom Figure
Understanding Lighting and Angles for Optimal 3D Modeling
Proper lighting is essential; natural light is frequently enough the best choice as it provides even illumination without harsh shadows. Aim to take your photos during daylight hours, preferably near a window or outdoors.If you must use artificial lighting, consider using softbox lights or diffusers to minimize glare and create a more flattering affect.
Angles are equally important in capturing your subject accurately. A straight-on shot can sometimes flatten features, while slightly tilting the camera can add depth and dimension. Experiment with different angles to find one that showcases the subject’s unique characteristics effectively.
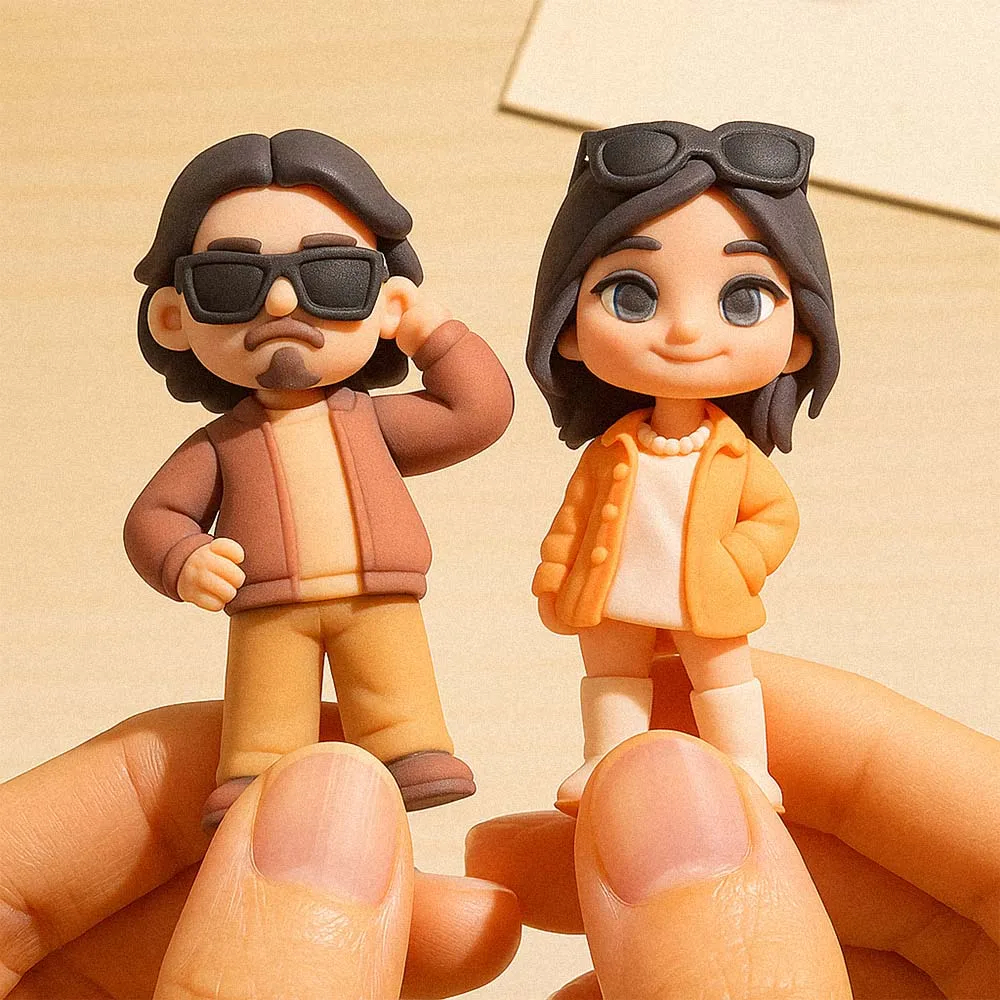
Why Full Body Shots Outperform Selfies in Image2Figure Technology
For those utilizing Image2Figure technology, full body photographs yield substantially better results than selfies taken at arm’s length. Full body images provide comprehensive detail about proportions and posture that close-up selfies simply cannot capture. This broader viewpoint allows for more accurate modeling of limbs and overall body shape.
Additionally, full body shots help eliminate distortion caused by wide-angle lenses commonly used in smartphone cameras when taking selfies. By opting for a full-body image taken from an appropriate distance, you ensure that every aspect of your figure is represented accurately.
Visual Comparisons: Good Photo Inputs vs. Poor Ones
To illustrate the impact of quality images on custom figures, consider these before-and-after examples:
- Before: A poorly lit selfie where only half of the face is visible leads to an incomplete representation of features.
- After: A well-lit full-body shot captures all angles clearly—showing facial details and also clothing textures—resulting in a lifelike model.
In another instance:
- before: An image taken from below distorts proportions and creates unflattering angles.
- After: A photograph taken at eye level presents balanced proportions and highlights key attributes effectively.
By understanding how lighting conditions and angle choices affect photo quality, you can significantly enhance your chances of producing stunning custom figures that truly reflect their subjects’ essence.